Since the basement take over started a few months ago we’ve been steadily picking away at it and getting ready to make the space livable again. While it was not in the plan to do this space right now, we’ve decided that it will be nice to have a finished space while the main floor is a construction zone when we start the kitchen. So the kitchen start date has been pushed back for now but we’re still vetting out options so we aren’t ready anyway.
But back to the basement. First up was replacing the smaller basement windows. Here’s a shot of the before.

They were pretty dirty inside and the ones at the front of the house you could tell had water at some point so Mace was very excited to make them water tight and secure from critters going forward.

Time to remove the old ones, do some clean-up, and get started setting the new ones.

And here it is after its squared up and shimmed.

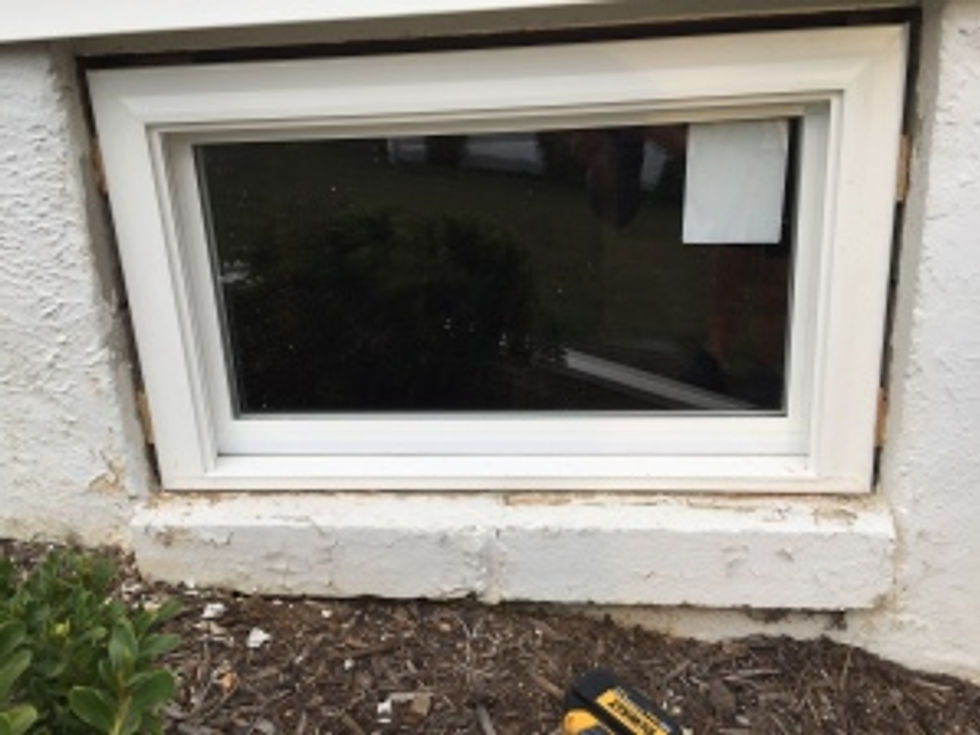
A look from the outside with a before and after, much nicer and they let in more light.

One down, two more to go! The front windows needed the sills to be leveled since the new windows were a slightly different size, here is Mace prepping the sills with a cement mixture. I’m sure there were more steps and reasons to do this that I can’t remember but now we know the right steps have been taken to prevent future water damage (I am super lucky to have a husband who can do all this!).

The front two were a little trickier since the bushes were in the way but Mace was a trooper and got them all figured out. Next up, adding the exterior trim and caulk to seal from the elements.

Comments