With the dining room and hallway updates done the next room on the list was the kitchen (the garage and office were on hold for the time being). A recent trend in kitchens has been two toned cabinets so I wanted to give it a try in our refresh to see if I liked it (in case we do it during the future full remodel). Grey has also been hugely popular color recently in all sorts of design and I knew I wanted to try it on the cabinets. Below are some kitchen cabinet inspirations to give an idea of what I was going for. I love how fresh and light they all feel, very classic.


One day we’ll do the full remodel, for now just an update. First up was transforming our old cabinets.


First I had to take all the doors and drawers out and remove their hardware. Originally I was going to try and spray the cabinets, but later decided it would just be too messy so this prep work was a waste of time. You can tell trim paint and wall paper removal was also happening.


I used chalk paint for the cabinets (no prep work! But you do have to use a wax finish which does add more time) and I did actually spray the uppers (which used a TON of paint and one of the reasons I didn’t continue to use the sprayer, the paint isn’t super cheap!) after painting the edges.

Some of the paint went on thick and ended up cracking a little but made it look more vintage. Touch ups were also needed after using the sprayer.

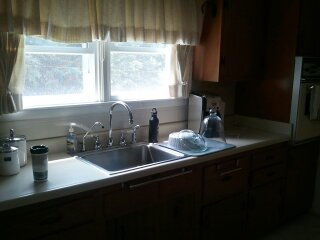
Here’s a shot of the upper cabinet frame all painted and it was looking much brighter in the kitchen.

Here’s the doors with the hardware back on. I had thought about painting it but decided to just leave it as is.

I decided to go with grey on the bottom cabinets and tried to make own color by mixing charcoal and white. This grey had more of a blue undertone than black so it came out a blue/grey shade which was a little different than I anticipated but still a major improvement!


It took about a week to get everything painted and waxed. Putting all the hardware back on and getting 17 doors and 9 drawers back in the right spot (I numbered them when I took them off) took some time but staying up late to get it done was so worth it to get an updated look!

Comentarios