Master Closet DONE!
- Sep 1, 2014
- 2 min read
Even though we had started working on the garage we didn’t forget about the items still left to do on the closet, here’s where we left off and it needed doors & lighting.

We had ordered the doors earlier in the project and were pumped when they arrived (Kobe was too!). The doors came primed but still needed to be sanded down before they could be painted. The doors also didn’t come as bi-folds so we bought hinges to turn them into bi-folds. When my parents were in town my Dad took care of painting the doors which was a huge help.

Next we had to install the commercial door hardware. Each side of the opening needed a bottom pivot installed. The I-beam was installed behind the valance and ran the length of the closet opening.


The new bi-folds also needed to have hardware installed in them so they would slide along the I-beam. This is what carry’s most of the weight of the doors and allows the them to close smoothly.

Each pair of bi-folds needed two pieces of hardware installed on the outer edges so it would function as a bi-fold (one stationary and one moving along the I-beam).

Here are some shots of the doors getting installed and you can see the hinges installed to make them bi-folds (shirt off means hard work is being done!).


It wasn’t a straight forward install and there was some finagling and adjusting the doors to get the spacing correct so there wasn’t a big gap between them when they were closed. The install took about 4 1/2 hours.

And here they are fully installed and with the hardware on!! I can’t wait till the rest of the doors in the house look like this.

I thought I’d follow-up about the deeper returns I mentioned in our planning phase now that the doors were installed. The bi-folds added more depth to the returns than we originally thought (can’t know everything ahead of time). In truth I think a professional would say they are too deep and we should have picked a different door style. I was upset at first because I was the one picked the door design (hey live and learn right) and Mace’s execution was perfect. And after living with it for the last year it really does work for us because we have access to the stuff we wear all the time and the clothes we don’t wear as much (formal stuff or different seasons) we put the farthest back and rotate as needed. We changed the configuration on the left (the closet is able to be modified after installation) to gain more access and it worked better. In the end we’re very happy with the results!


Next up the lights were installed (in truth we did this about 6 months later). We installed two T-8 strip lights on the top of the closet with a motion sensor. We did motion censored so that they would turn off and on when needed and we wouldn’t need to install a switch. The whole install took about 3 1/2 hours.


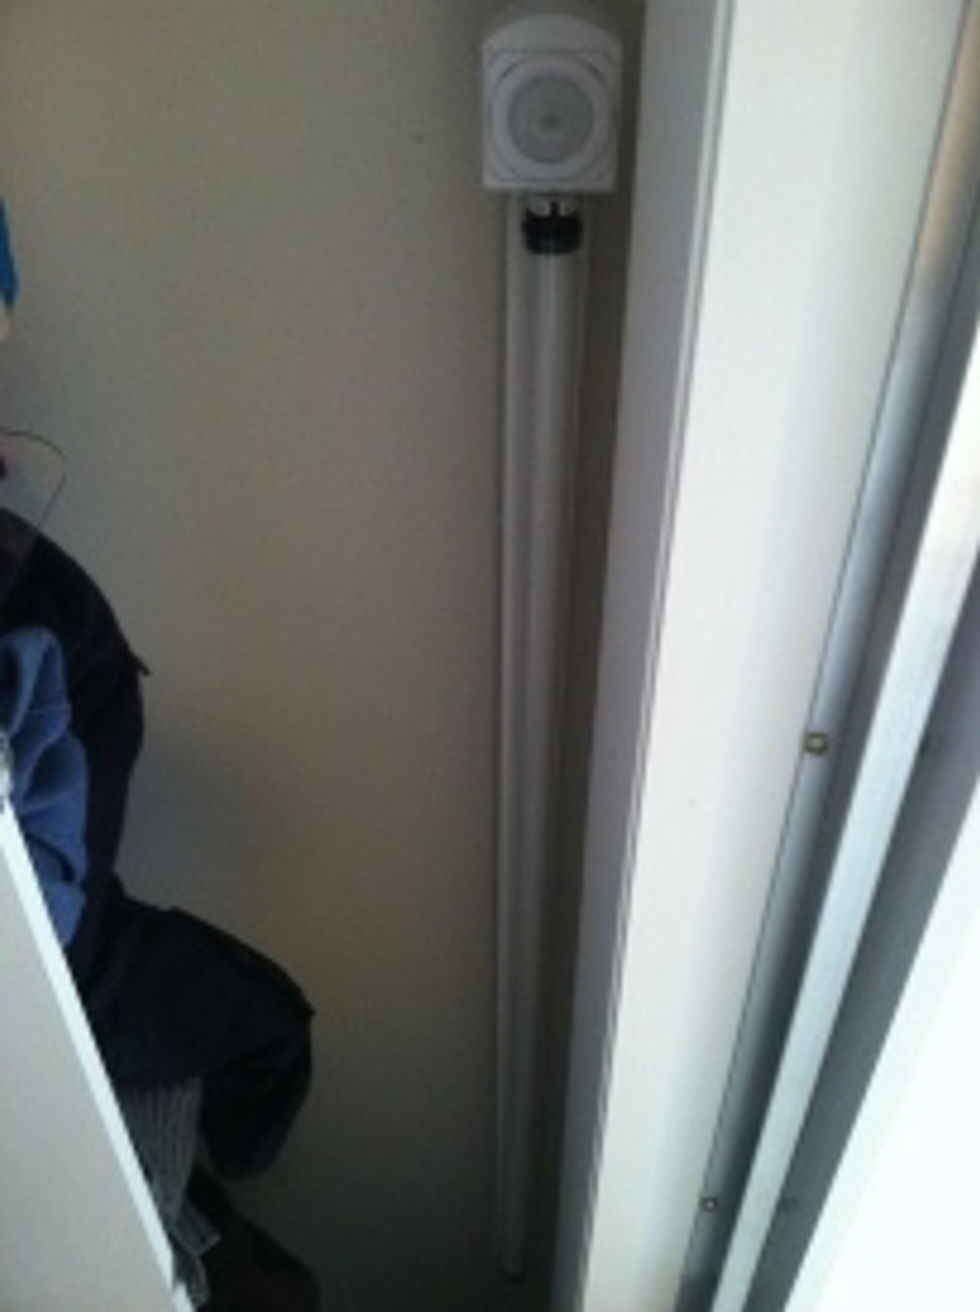
Let there be light!!! We still love having this feature in the closet!

Comments