Unexpected Slider Replacement
- Sep 25, 2014
- 2 min read
What better reason do you need to have a party then a fresh kitchen update and that’s exactly what we did! And the boys had quite a bit of fun with the skateboard in the basement and ended up breaking the 1950’s slider… didn’t their mothers ever tell them NOT to skateboard in the house!! I guess when its your house you get to make the rules right?!
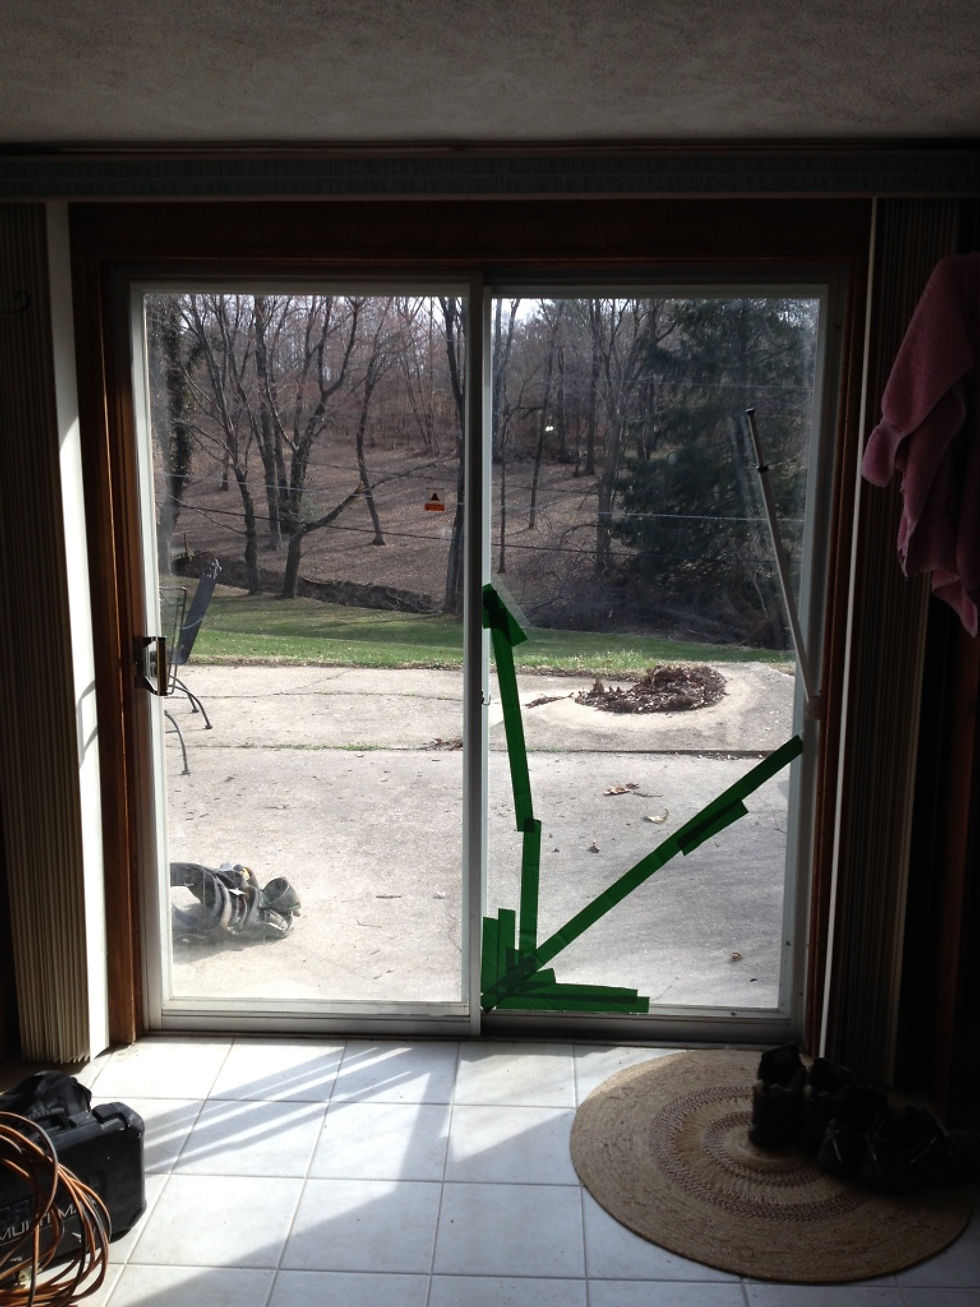
We always planned on replacing it since it was pretty vintage with the old school locking bar, but since it was now broken it jumped up in the priority list.
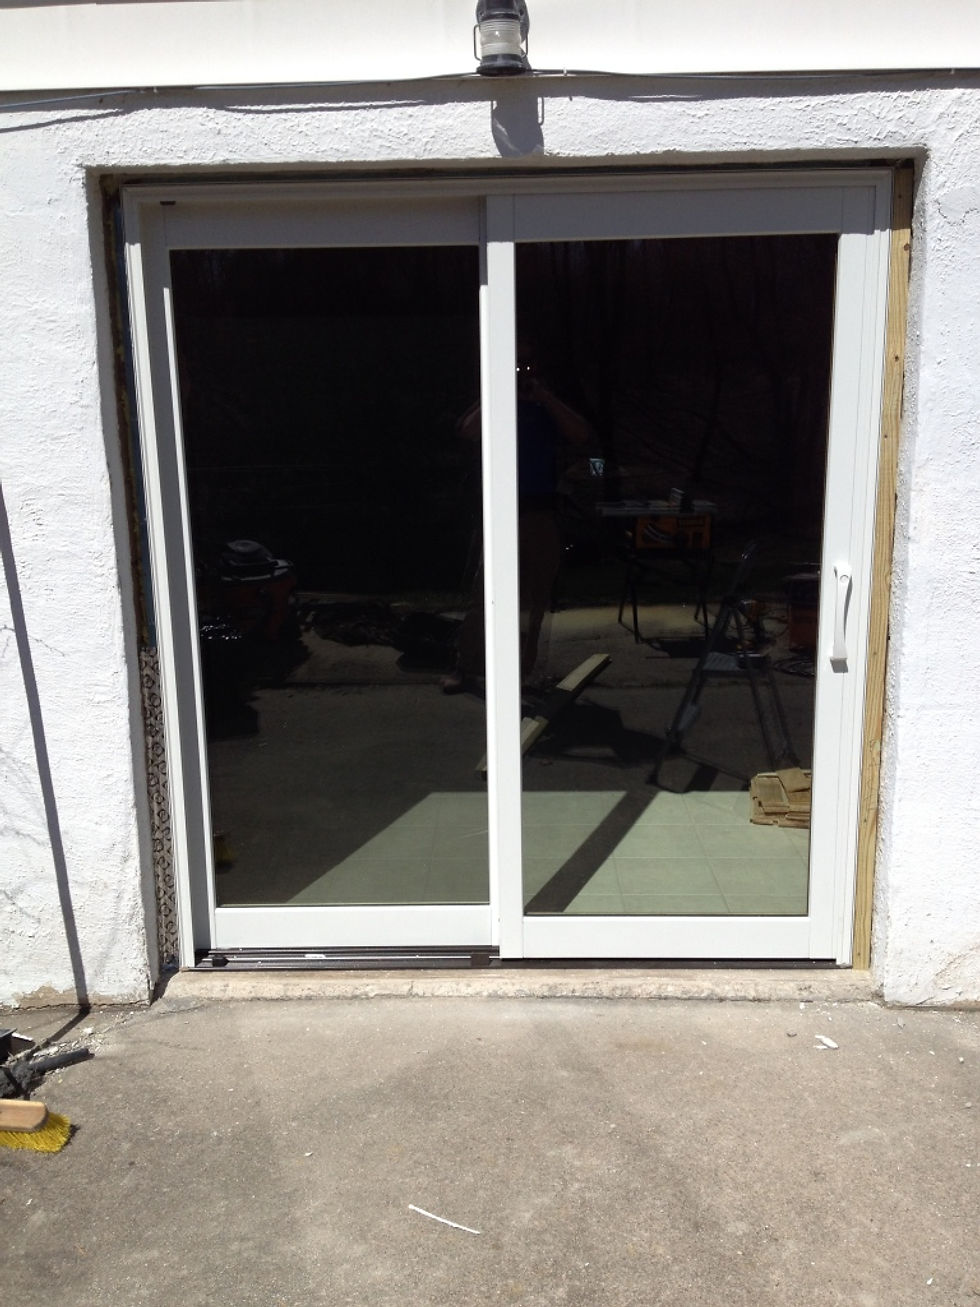
So after doing some shopping around we chose an off-the-shelf Pella slider but still a quality aluminum clad wood door that met Mace’s standards (its great for me that he is so knowledgeable about building materials, takes a load off my mind!) from Home Depot and we were ready to get rid of the old slider!

First the guys (Mace and my dad) dry fit the door in the space.

Next was putting 3 beads of silicone on the threshold to create a water tight seal…

And then setting the new slider in place (love that teamwork!).


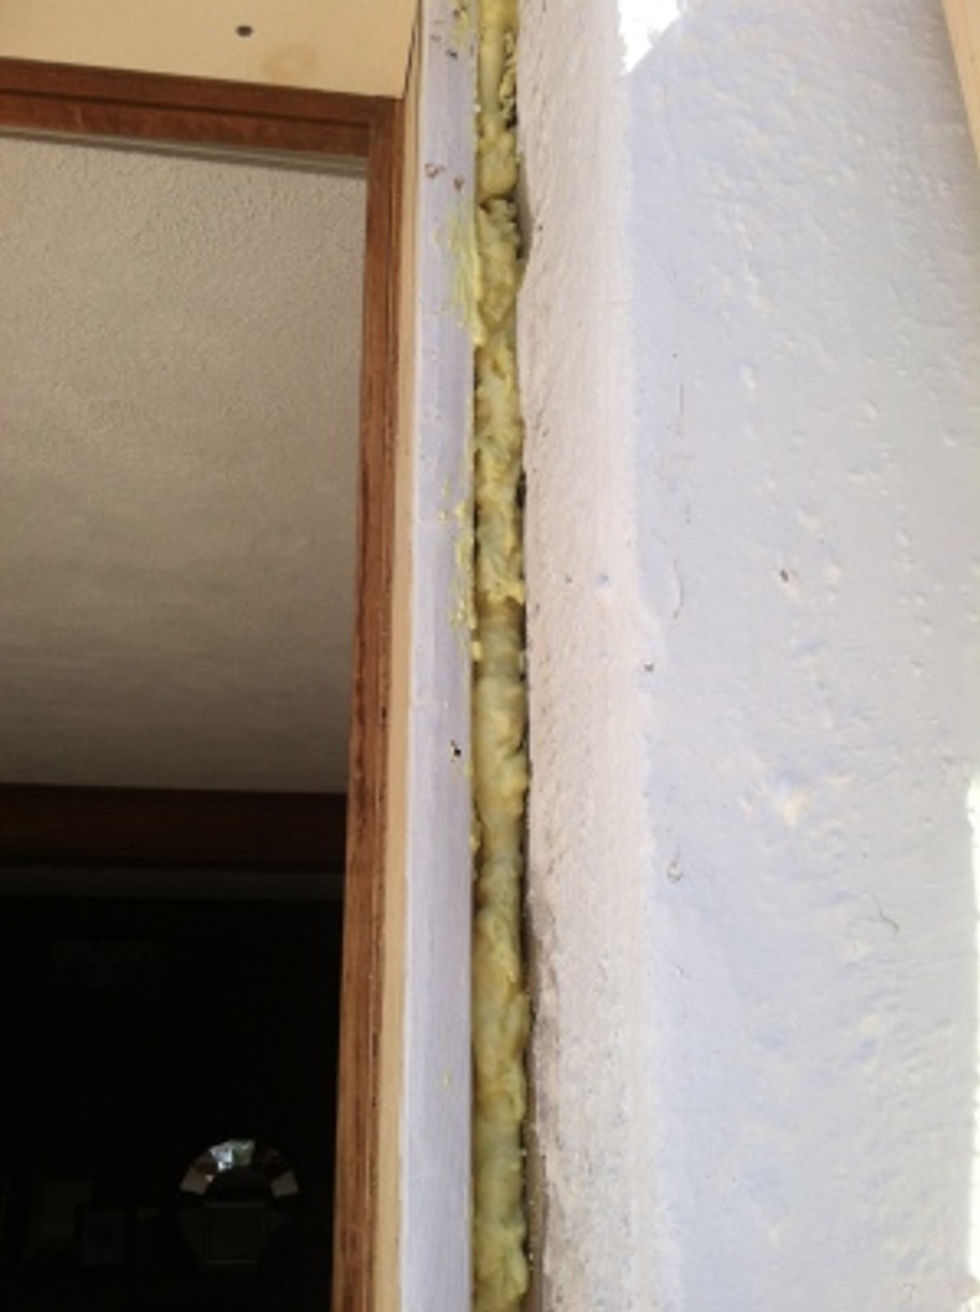
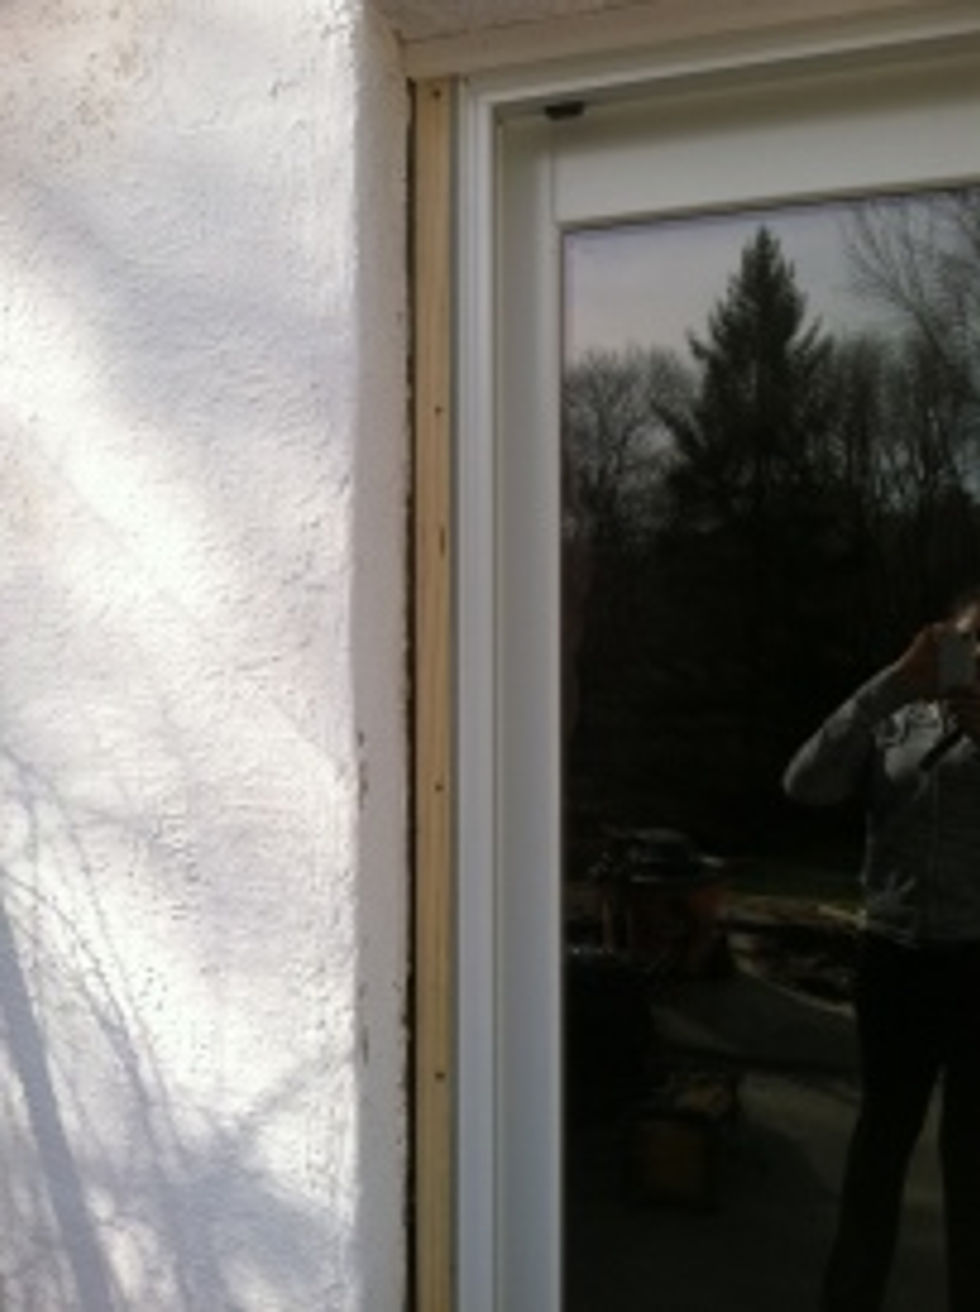
Then they used spray foam insulation between the door jamb and house to seal everything up after making everything square.

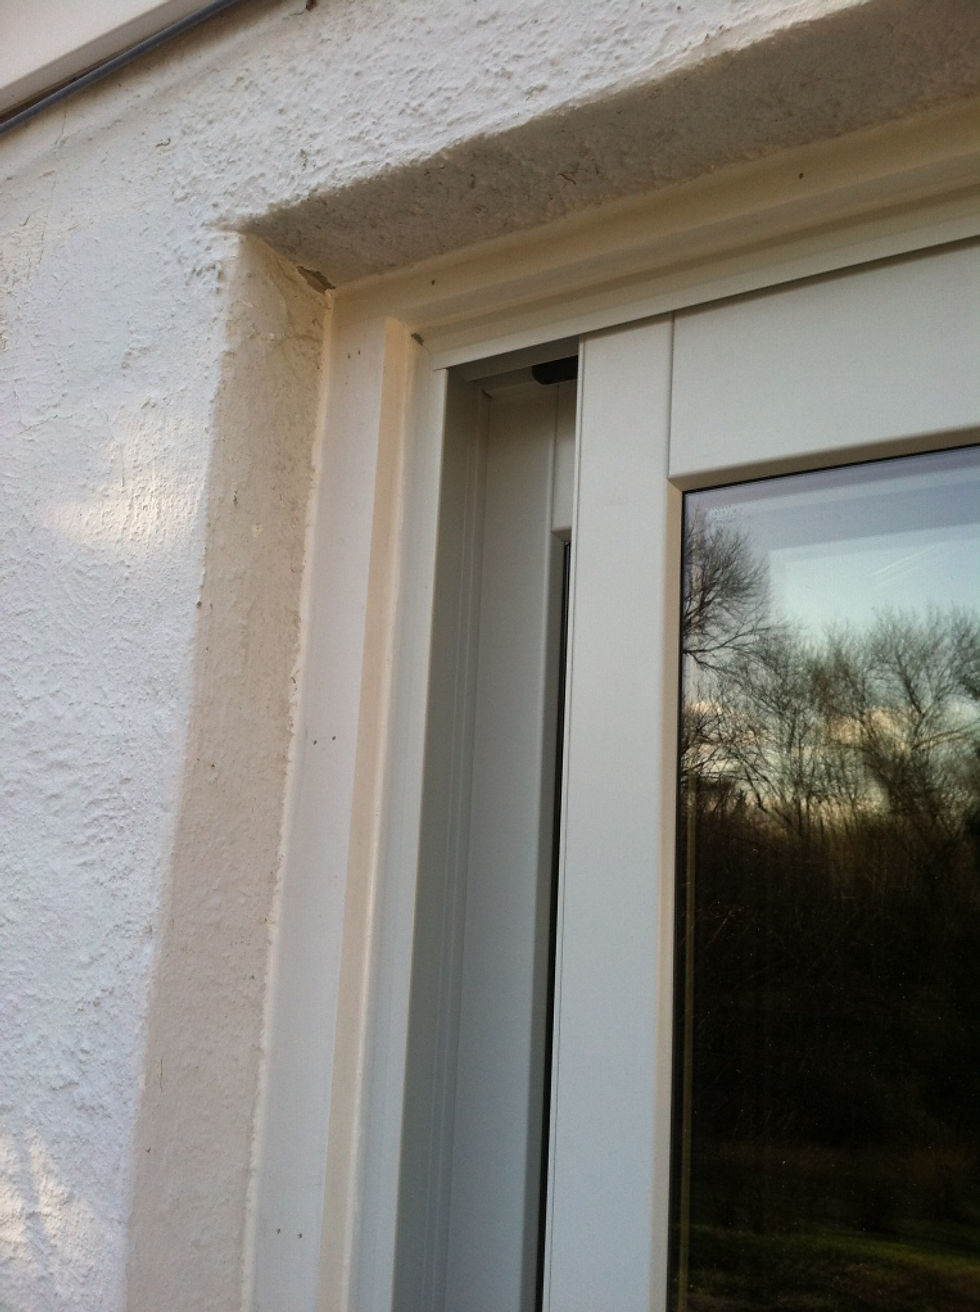
Weatherproofing (the silver tape) and adding wood filler around the frame also needed to be installed.
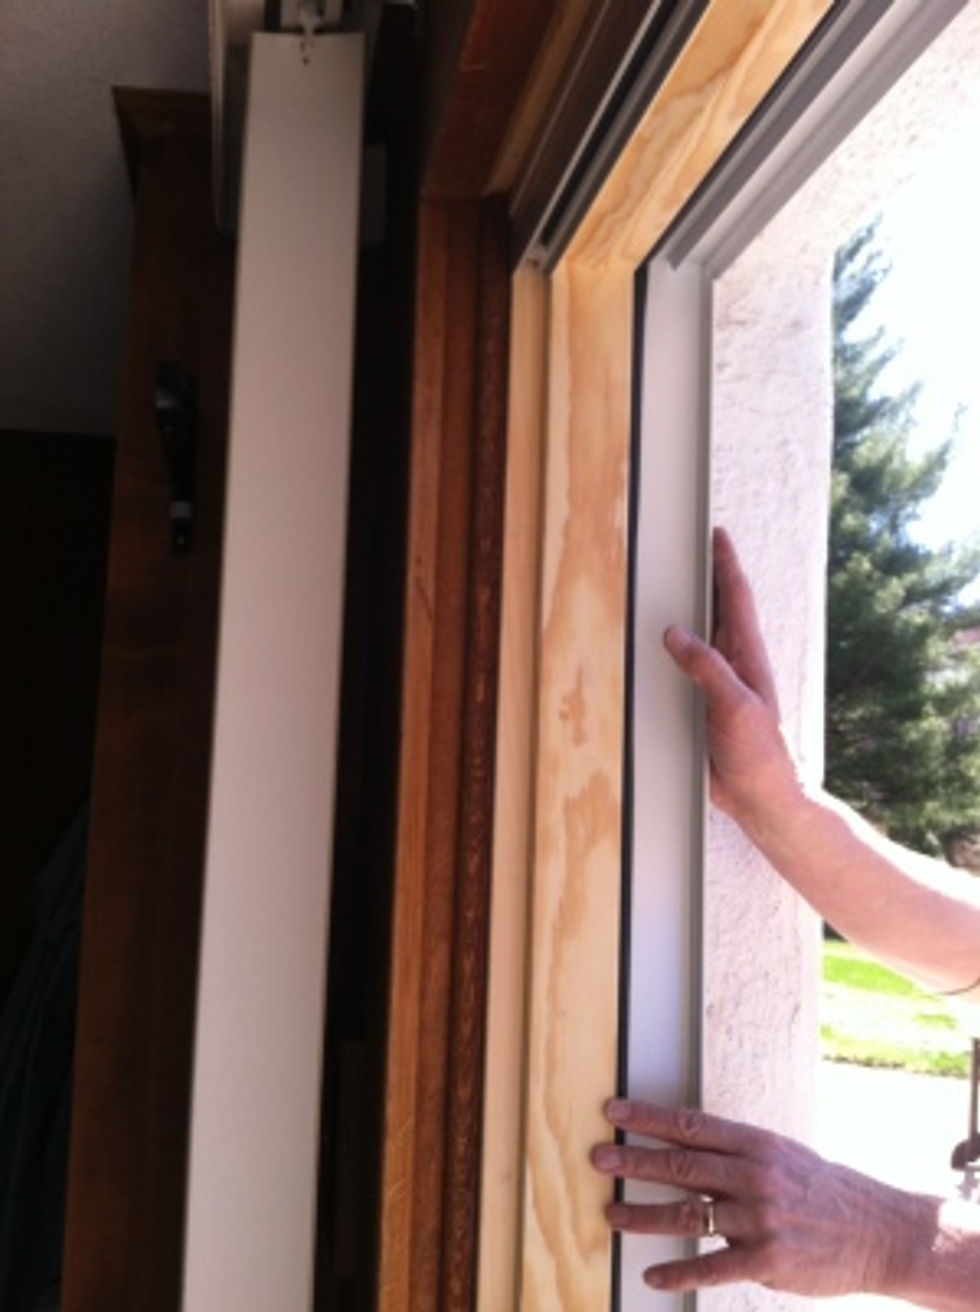
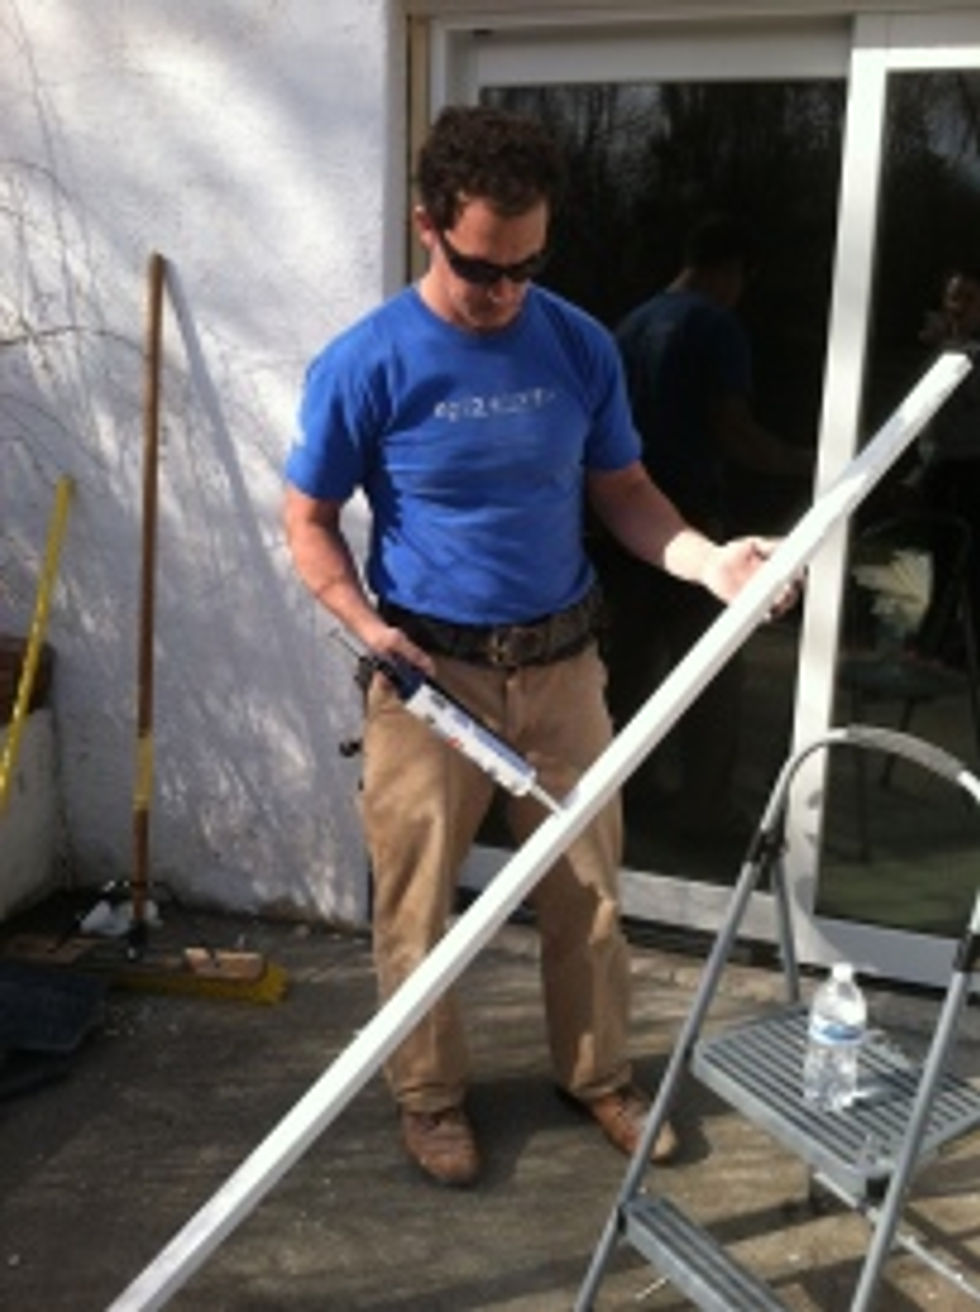
Then the slider needed to be trimmed out, here’s the install of the last side of the trim going up.
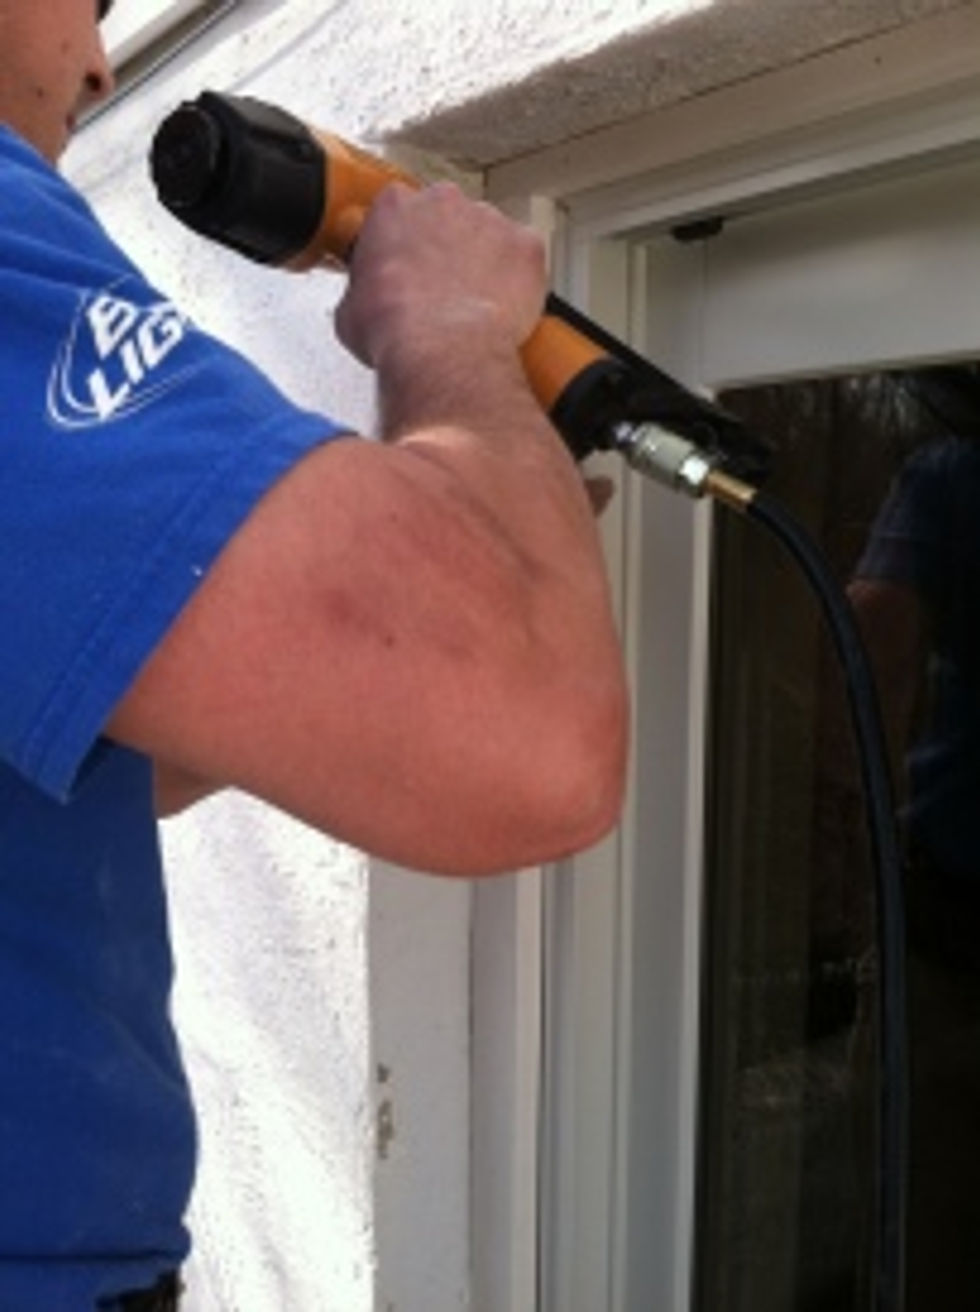
Lastly caulk needed to be added around the trim to make it watertight and seal any gaps.

It also makes for a cleaner looking finished product after you smooth out (aka tooling) the caulk so its no longer lumpy like in the above pic.
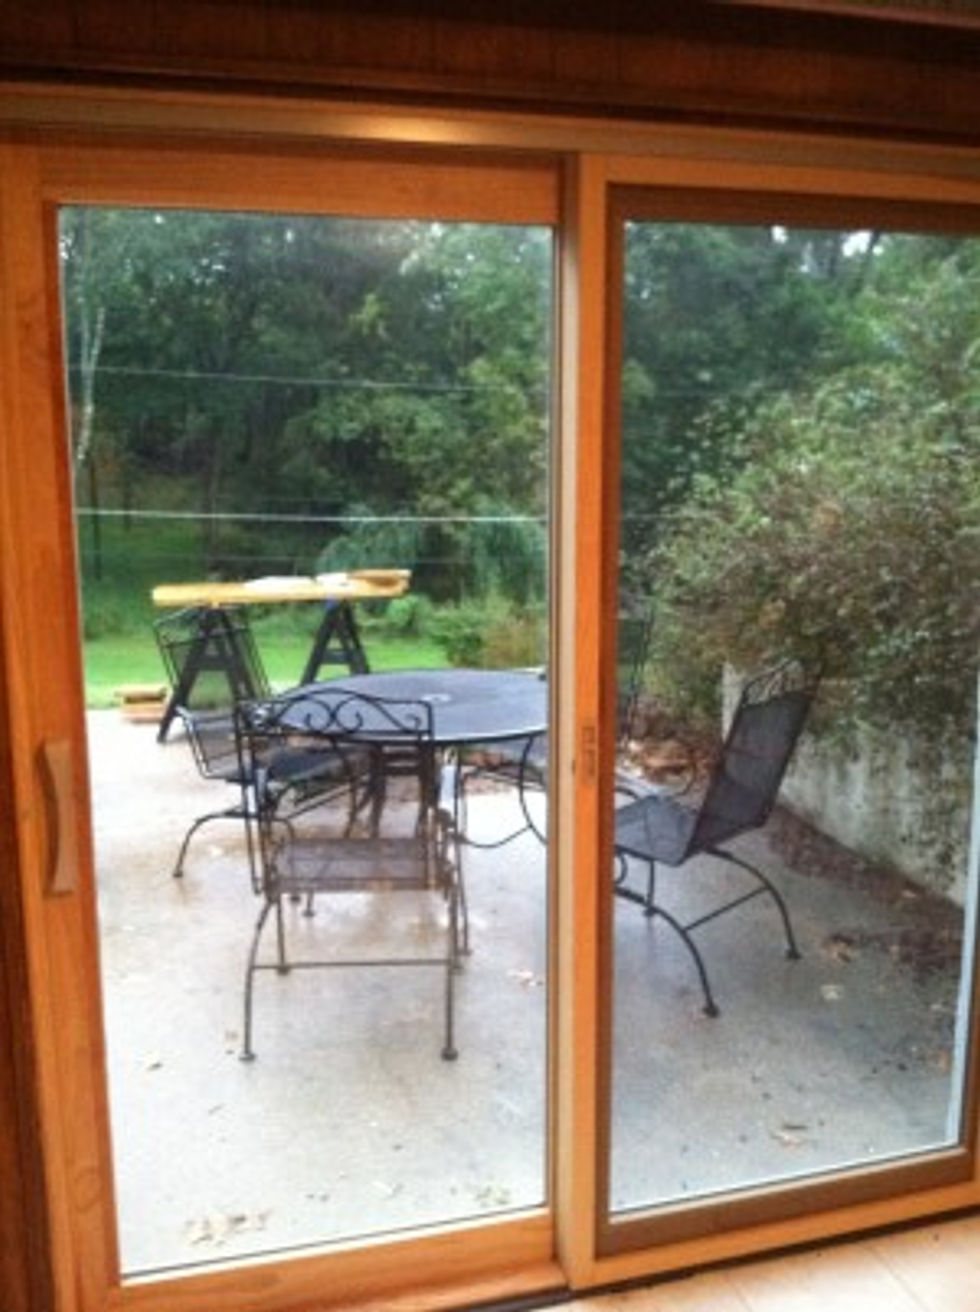
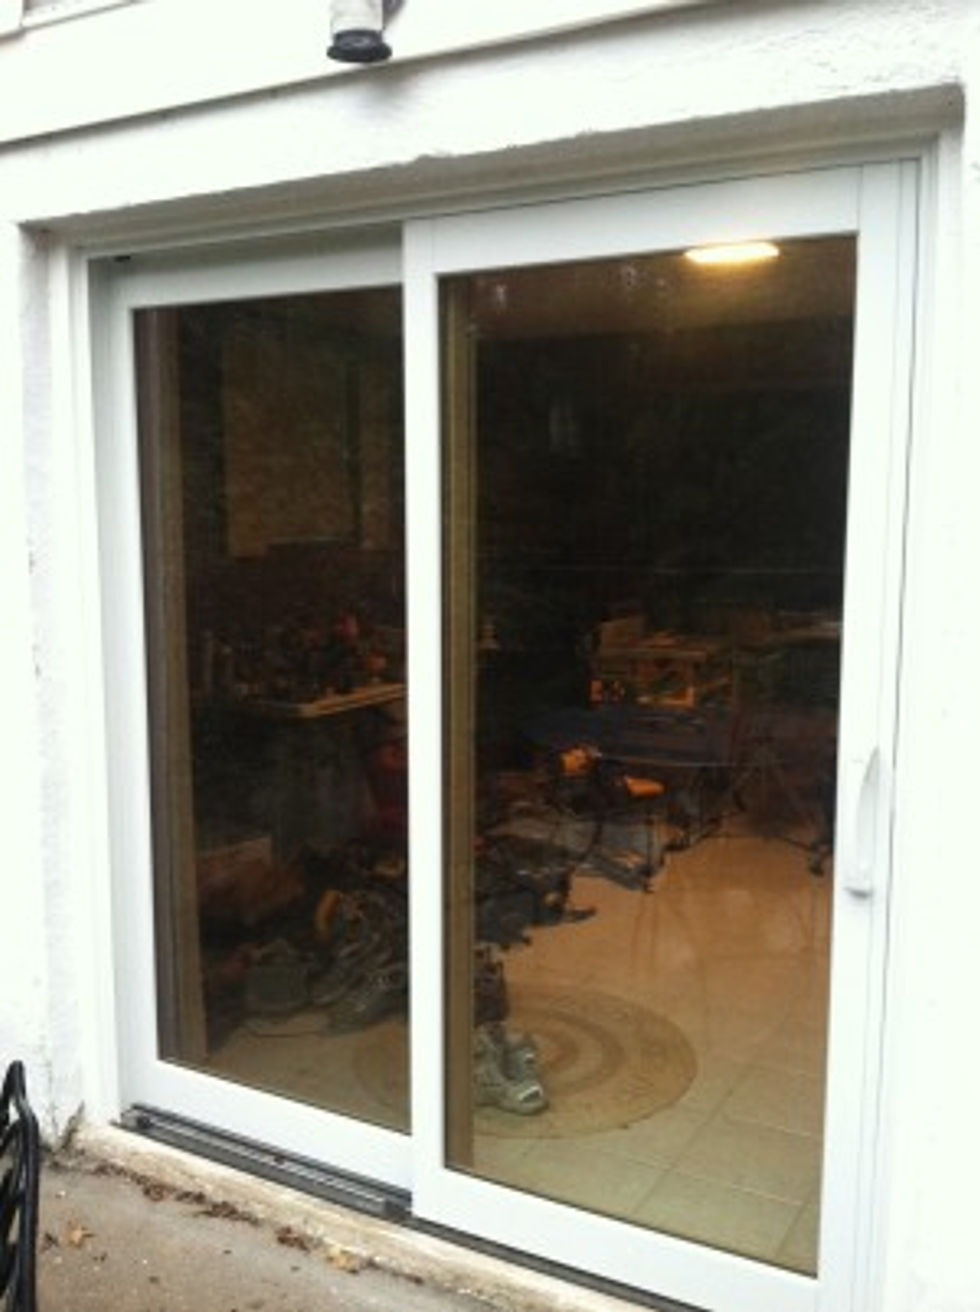
And here’s the fully installed slider!! It works so much nicer than the old one and is much more energy efficient. It seems like it wouldn’t take long but it took a full 9 hours to get the slider installed and having my Dad around was a BIG help. Both inside and outside still need to be painted but we’ll get to that eventually. One last thing to do for the day…
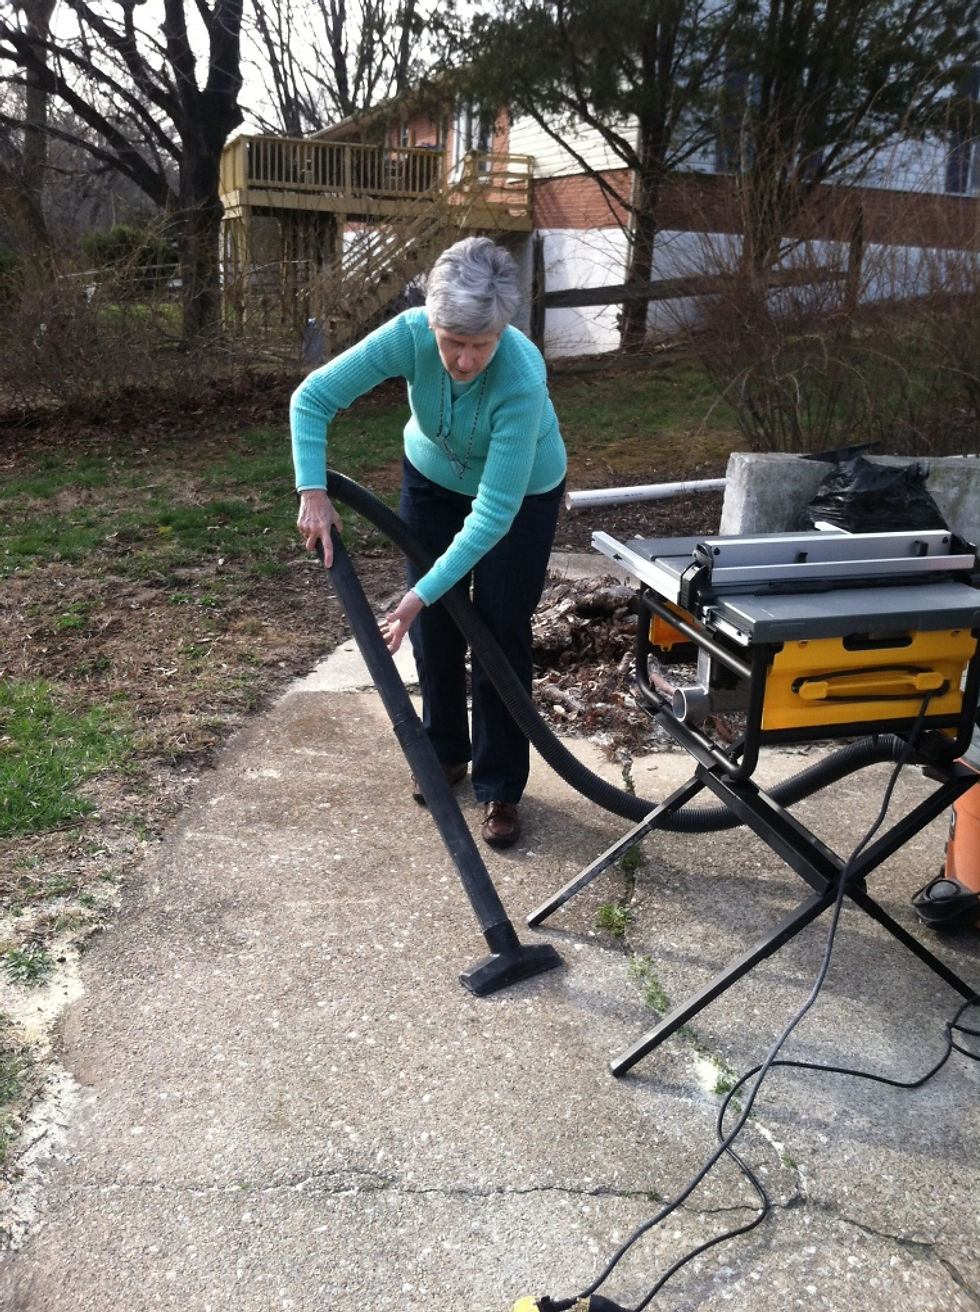
And that would be clean up! Luckily my Mom is very good at that so she got involved in this project too!


Commentaires